
I had most of the day today so I decided to go hard on finishing the exhaust.
The first thing I did was sand and clean the rest of the exhaust parts, and gave them all a coat of KBS XTC Xtreme Temperature Coating, followed by the second coat on the front pipes. I had a couple of hours off while I did some other things, and then came back to see the parts all looking great.
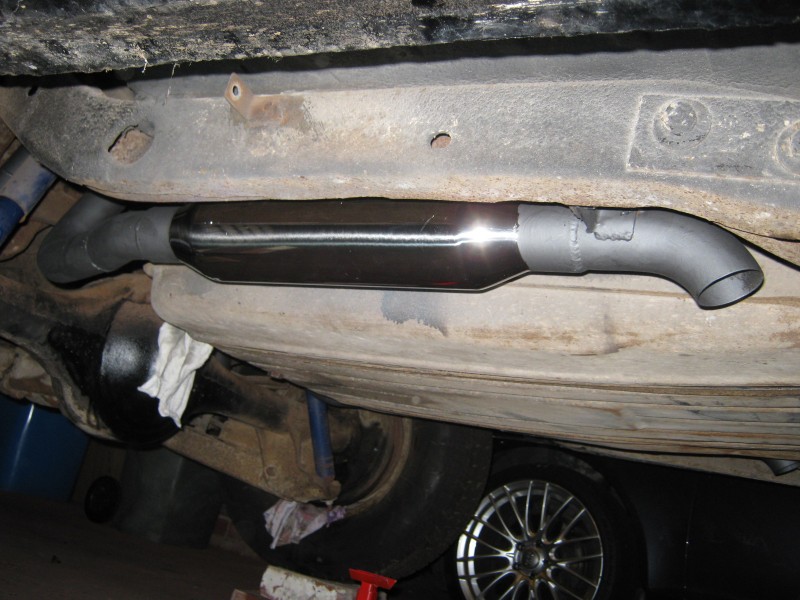
I fitted all of the parts to the car, and left the hangers loose so I could connect everything up easily. Once it was all together I tightened everything up. This now gave me the pipe position behind the differential so I could proceed to fit the rear resonators and tail pipe. I already had the right hand side pretty well sorted, but needed to weld the pipes to the resonator. After quite a bit of juggling, I had the inlet pipe and the tail pipe welded in place. Not sure if it was my lucky day, or if I have improved with practice, but the welds worked out real nice – the best I have done so far.


I gave the RH resonator a clean ready for painting when I am finished. It was a good feeling to finally be working on the last part of the exhaust!

I then proceeded to do the same task on the left hand side which interestingly didn’t go quite as smooth as the right hand side. Once it was also cleaned up, I proceeded to weld them on the car. Unfortunately because of the angles, these rear sections needed to be welded on in place as they wouldn’t get over the differential if welded together first. I really hope that it all works well as I will need to cut the pipes if I ever want to remove them again.
BEFORE I started I started welding on the car I blocked the vent tube for the fuel tank – I really don’t want to blow myself up when I am so close to getting this thing on the road. I set the pipes and resonators up and tacked them together. Once they were locked in place I could disconnect the hangers and band clamp to release the rear pipe assembly for full welding. I cleaned everything up and wiped it all with acetone, and then gave it all a coat of XTC before installing. Hopefully this is the last time I have to do this.

It all fitted together pretty well. The clearance in a couple of parts is a bit tight, but I can’t get the pipes to hit the body without really giving them a shove, so I am hoping that there will not be any contact with the body when the engine is running. I had run out of time, so I packed everything up so I could have some dinner. The XTC coating needs to cure for 8 hours before being exposed to heat, so the late hour took away any temptation to start the engine!
The flash in the full rear picture really shows up the fine scratches in the rear bumper bar. They don’t look that bad in reality, but I think I am going to have to find some chrome polish to improve the finish.


So that’s the exhaust finished if I am lucky enough to not have to make any minor modifications once I start the engine.

Great work, Tim. ‘love your persistence and attention to functionality! Can’t wait to hear it.
LikeLike
Hi Tim,
Neither can I. I will be holding my breath when I turn the key!
LikeLike